In this quick-start tutorial you will learn how to configure free, auto-renewing SSL certificates for WordPress websites that are hosted on Google Cloud compute engine using the Click-to-Deploy version of WordPress on Google Cloud.
Having SSL Security on your website will improve your Google search ranking.
If you’re using the Bitnami version of WordPress on Google Cloud, you can view that SSL certificate tutorial here.
Before getting started with this tutorial, you should have already:
- Installed WordPress on Google Cloud
- Set up a Domain Name for your WordPress website
- Reserved a Static IP Address for your VM instance.
So let’s get started…
1. Connect to WordPress via SSH
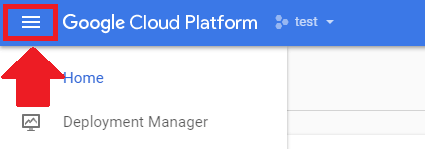
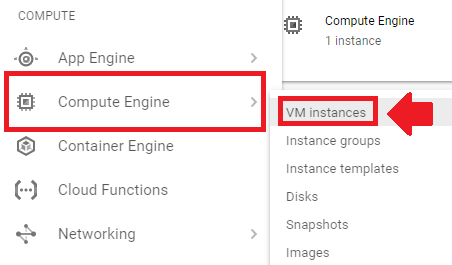
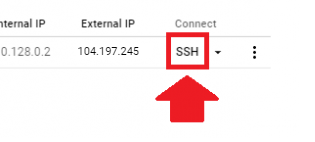
2. Install CertBot Client
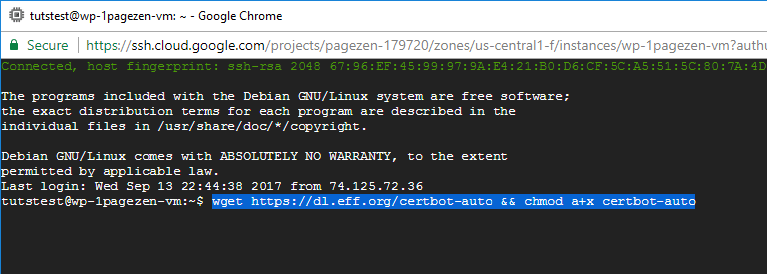
wget https://dl.eff.org/certbot-auto && chmod a+x certbot-autoAfter executing each of these commands, you can either stay in the same SSH window or exit and open a new one.
3. Generate Certificates

./certbot-auto certonly --webroot -w /var/www/html/ -d 1pagezen.com -d www.1pagezen.com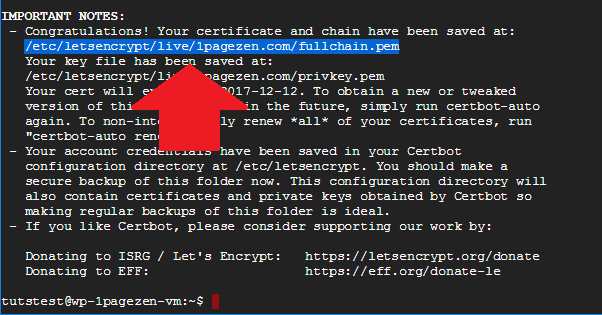
4. Configure the Certificates
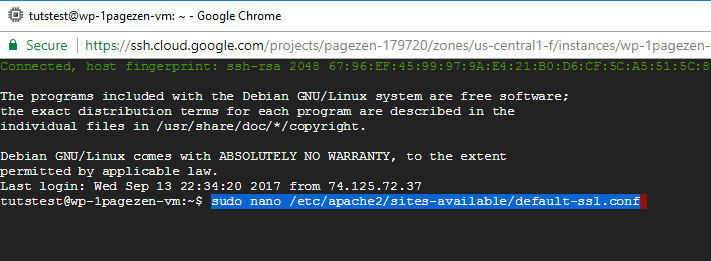
sudo nano /etc/apache2/sites-available/default-ssl.conf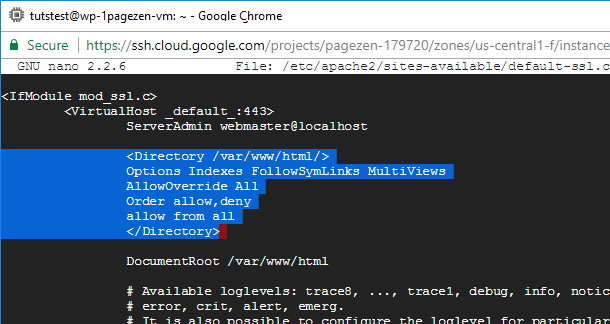
<Directory /var/www/html/>Options Indexes FollowSymLinks MultiViewsAllowOverride AllOrder allow,denyallow from all</Directory>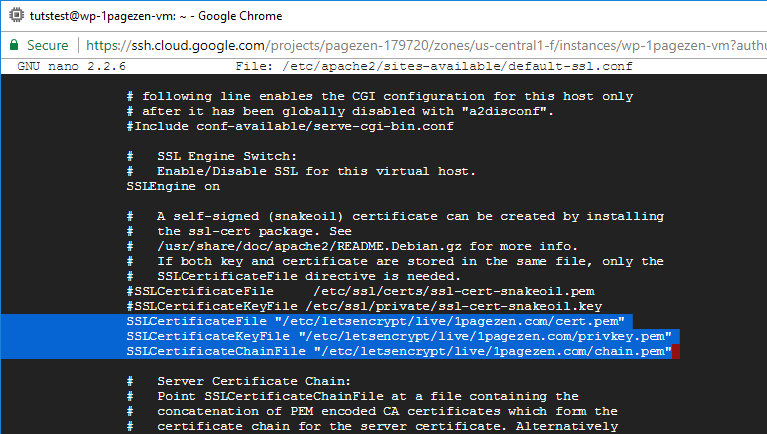
SSLCertificateFile "/etc/letsencrypt/live/1pagezen.com/cert.pem"SSLCertificateKeyFile "/etc/letsencrypt/live/1pagezen.com/privkey.pem"SSLCertificateChainFile "/etc/letsencrypt/live/1pagezen.com/chain.pem"After adding this code, enter ctrl+o to save changes, followed by ctrl+x to exit back to your home screen.
5. Enable HTTPS Redirect
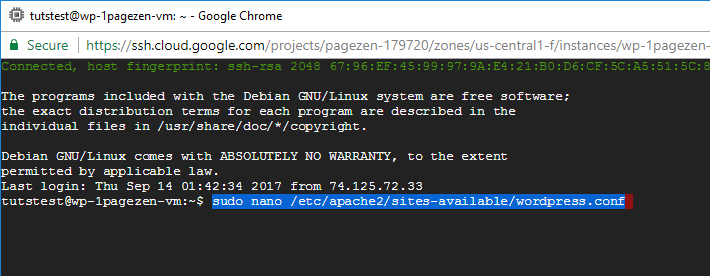
sudo nano /etc/apache2/sites-available/wordpress.conf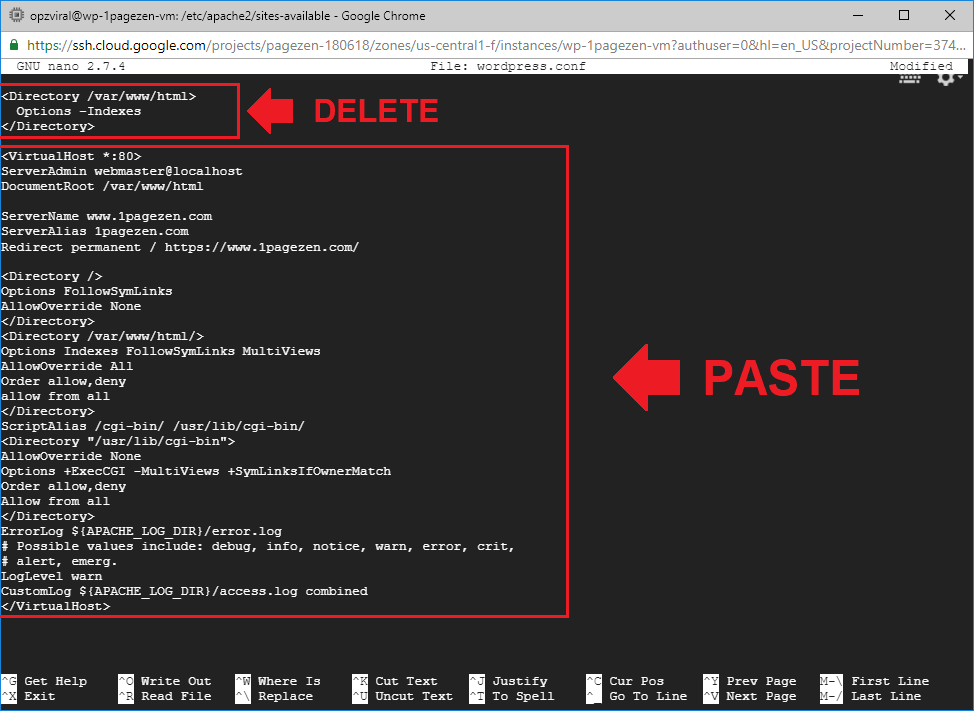
<VirtualHost *:80>ServerAdmin webmaster@localhostDocumentRoot /var/www/htmlServerName www.1pagezen.comServerAlias 1pagezen.comRedirect permanent / https://www.1pagezen.com/<Directory />Options FollowSymLinksAllowOverride None</Directory><Directory /var/www/html/>Options Indexes FollowSymLinks MultiViewsAllowOverride AllOrder allow,denyallow from all</Directory>ScriptAlias /cgi-bin/ /usr/lib/cgi-bin/<Directory "/usr/lib/cgi-bin">AllowOverride NoneOptions +ExecCGI -MultiViews +SymLinksIfOwnerMatchOrder allow,denyAllow from all</Directory>ErrorLog ${APACHE_LOG_DIR}/error.log# Possible values include: debug, info, notice, warn, error, crit,# alert, emerg.LogLevel warnCustomLog ${APACHE_LOG_DIR}/access.log combined</VirtualHost>After adding the code to your wordpress.conf file, enter ctrl+o to save your changes and ctrl+x to exit the wordpress.conf file.
6. Restart the Apache Server
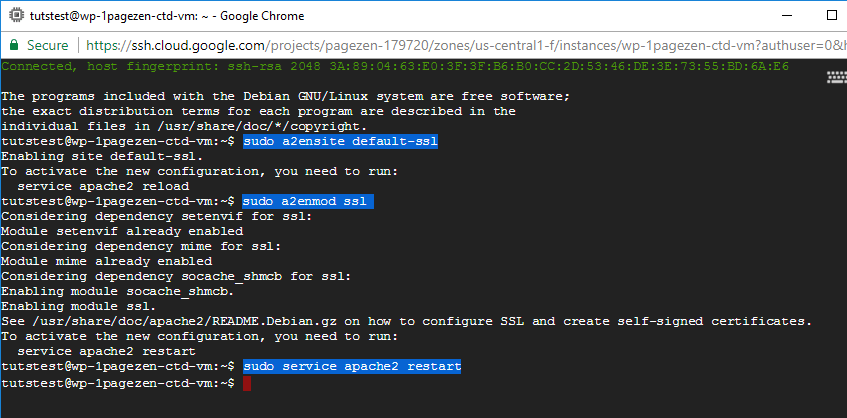
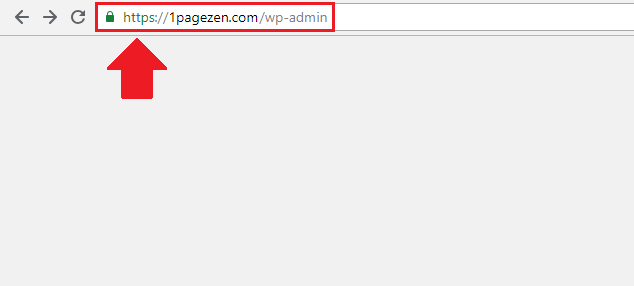
sudo a2ensite default-sslsudo a2enmod sslsudo service apache2 restart7. Update WordPress URLs
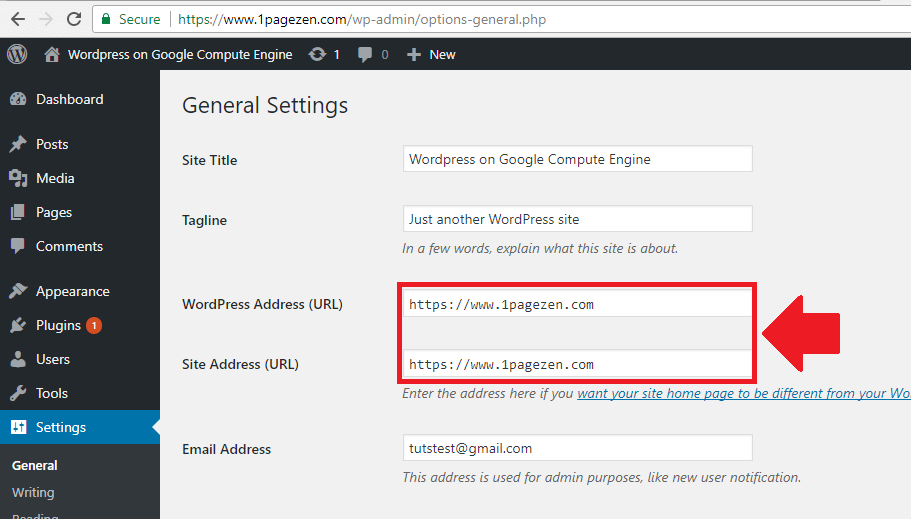
SSL Auto-Renewal Configuration (Optional)
8. Configure SSL Auto-Renewal
Do you want your SSL certificates to renew automatically? In the following steps you will learn how to configure auto-renewal for your SSL certificates – so let’s get started!
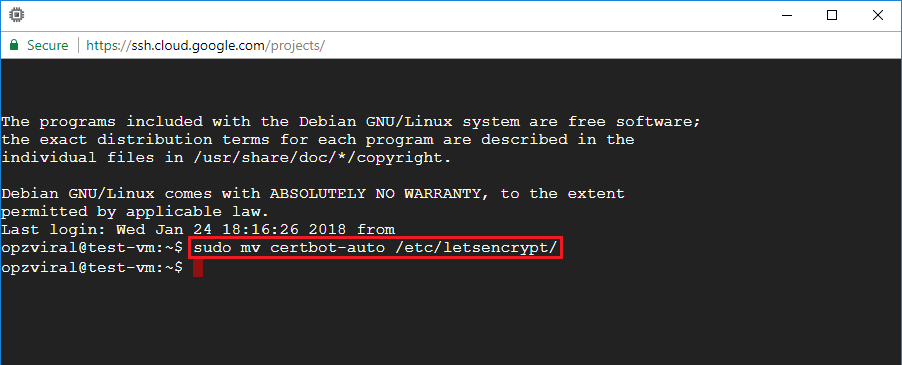
sudo mv certbot-auto /etc/letsencrypt/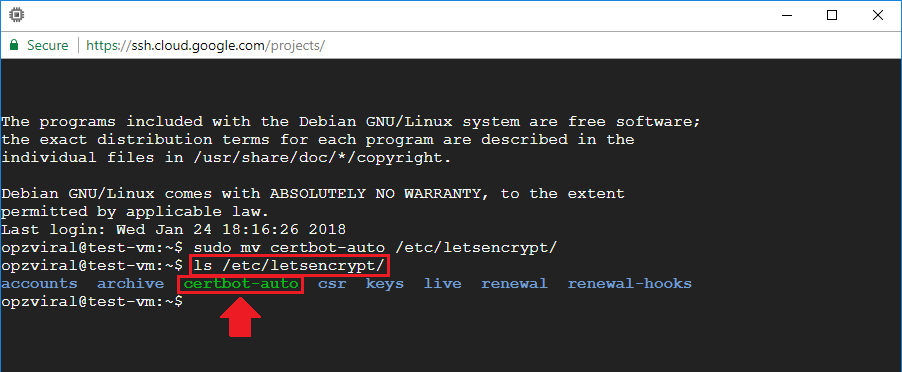
8.1 Edit Crontab File
Now that you’ve moved your certbot-Auto package to the /etc/letsencrypt/ directory, the next step is to open your crontab file.
To open your crontab file, execute the following command:
sudo crontab -e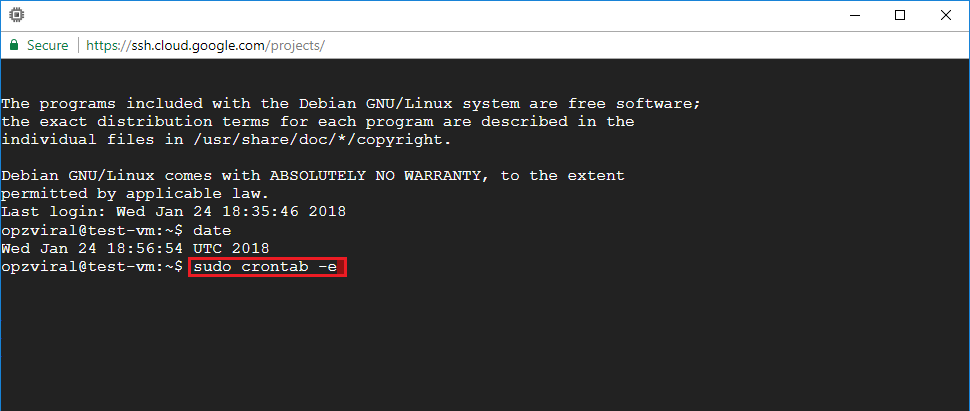
8.2 Configure Auto-Renew Script
Now that you’ve opened your crontab file, the next step is to add a script at the bottom of the crontab file which will execute once per week and will automatically renew the SSL certificates if they are about to expire.
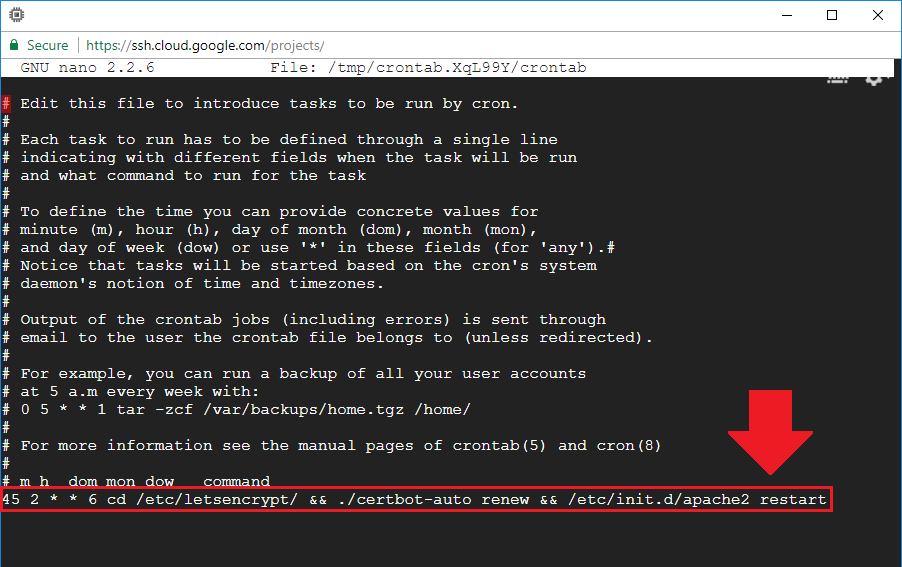
For Click-to-deploy or standard Apache users, add the following script:
45 2 * * 6 cd /etc/letsencrypt/ && ./certbot-auto renew && /etc/init.d/apache2 restartThat’s it!
If you’re interested in learning about additional auto-renewal testing methods, check out the full Certbot auto-renewal tutorial here. You may also be interested in boosting your website’s performance by configuring Cloudflare’s free CDN.
If you run into any issues with your certificates and want to verify that they’re configured properly, check out the SSL Checker tool. Also check out this tutorial on how to fix SSL errors.


